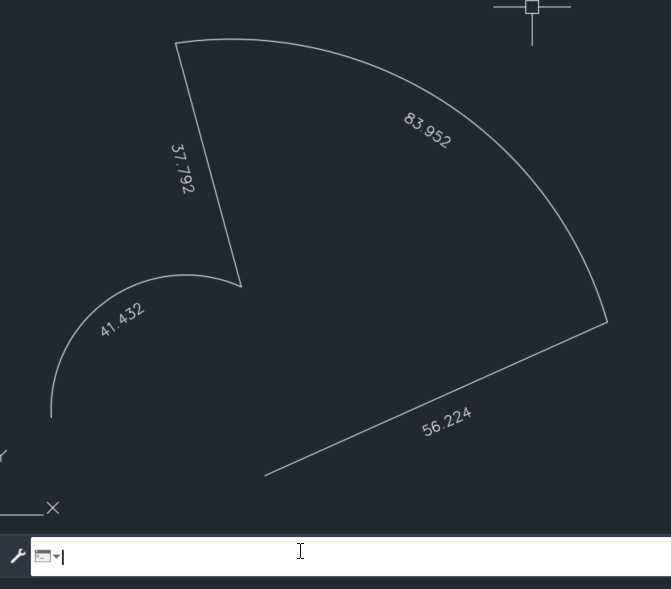
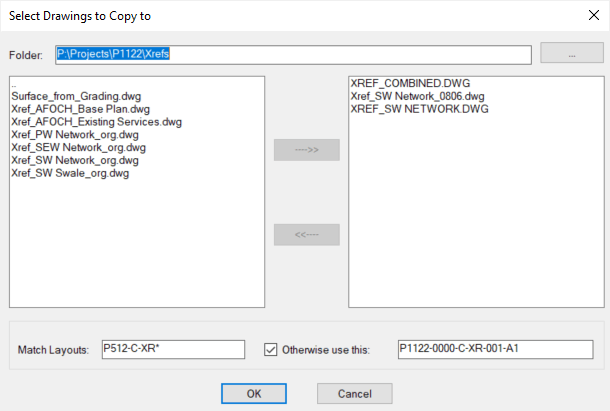
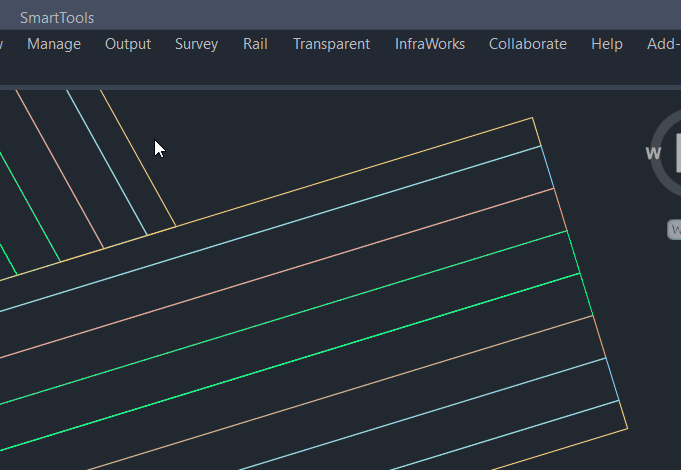
Smart Tools Menu
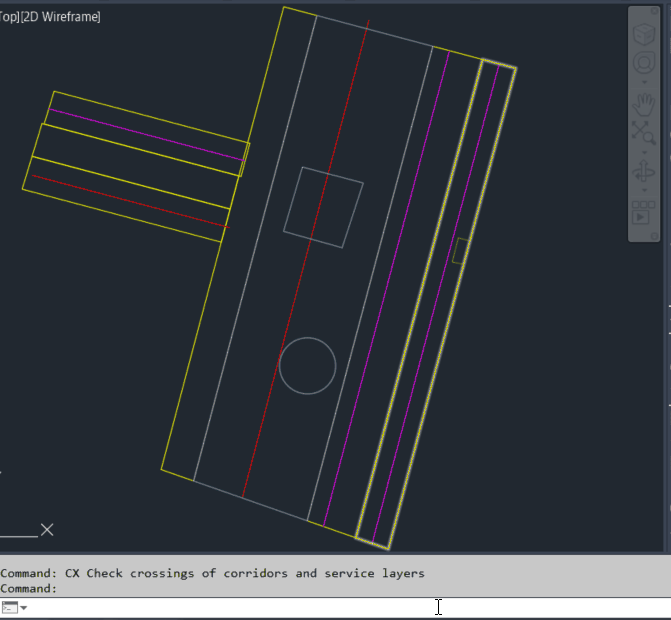
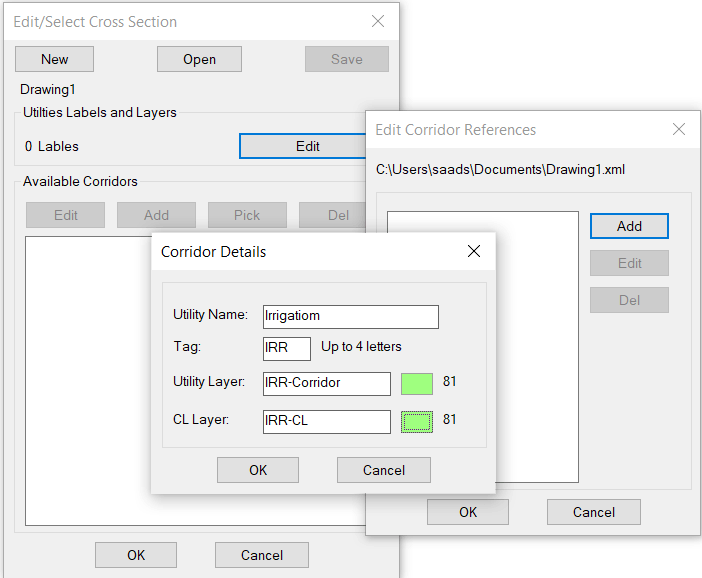
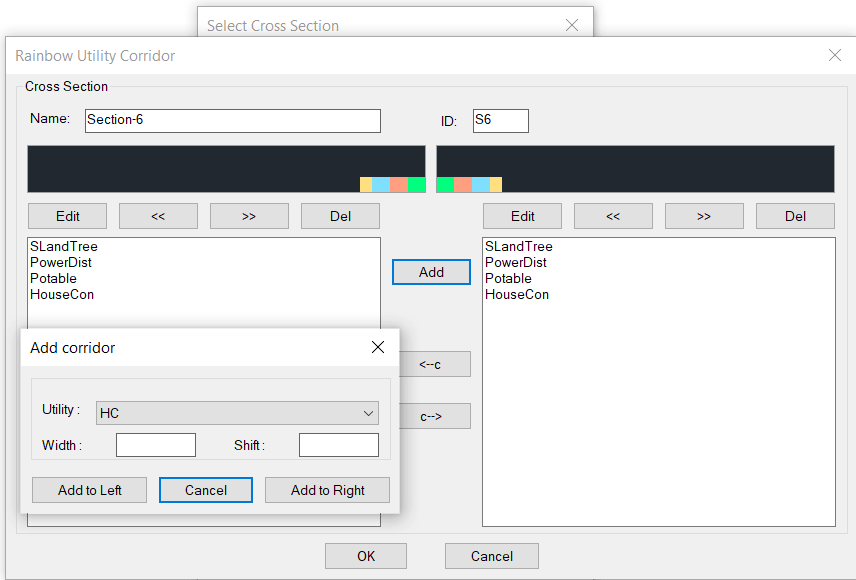
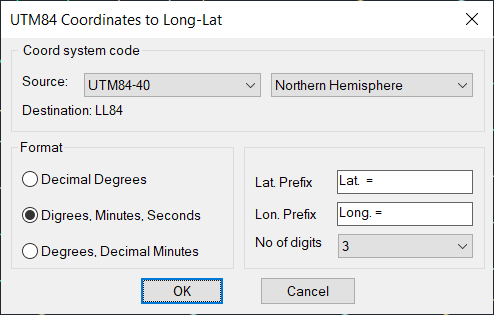
Smart Tools for CAD (SmartUtils) is collection of Visual Lisp routines written based on users demand which makes the software customized for most of the clients. The software is updated and enhanced frequently as part of the support to the clients.
This command is a generic command used to check intersection between polylines, arcs or circles and flag the cross points. However, some presets were added to make checking clashes between utility corridors easier.
The groups are selected based on their layers.
To run the command without the presets click [Advanced] or run the command CX2 instead.
The first windows will show a list of the drawing layers on the left, plus two more lists on the right side, for the user to move the corridor layers to go to the top right list while the structures and centerlines to go to the right bottom list.
Then select on of the preset cases then click [GO]
The crossings will be listed in a dialog box and user can inspect them one by one or to flag them all on the drawing
To show the results dialog again use the command CXR
This command will create utility corridors as closed polylines offset from centerline. The user can define a list of cross sections then apply the sections on the related center lines.
The sections can be saved to an XML file to be used/edited later.
To start run the command MOF, the first run will take the user into the Editor window.
- Click [New] to start new file
- Click [Edit] to start creating corridors references (labels and layers)
- Click [Add] and fill the dialog for each entry (Utility Name, Tag to be used later, The corridor layer and the center line layer)
- Click [OK] then [Add ] to continue for the other Utilities.
- Click [OK] when finished to go back to the Edit/Select Dialog.
Now to define the cross sections click [Edit]
The Composer window will show:
To add corridor to the section click [Add] the Add corridor window will appear, Select one of available utilities form the Utility drop list, in this list you will see the Tag of the utility not the full name. now type the Width of the corridor.
Typically corridors are added right next to the previous corridors, if the corridor has gap then type the distance here, or leave it, it will be considered zero which is the typical case where no gaps between corridors.
Now click [Add to Left] or [Add to Right], if you add it to one side and you want to Copy it to the other side click [ <-- c] or [c-->] then it can be modified or deleted.
To move any corridor left or right use the [<<] [>>] keys and watch the section moving in the top window.
Before Clicking [ OK ] make sure the section has unique ID and Name, if not it will ask you to go back or replace the existing one.
In the first window select your section then select the cross section center line, then click anywhere to the right side of the center line.
Next run of the command, the setting window will not show and the default section will the last used section.
This command is used to insert a label with Latitude Longitude LL84 in Degree Minute Second format for the drawings with UTM-WGS84 coordinate system. It will take care of the conversion from UTM to DMS automatically.
The dialog box appears when the command runs for the first time and later only when the user responds with Enter instead of picking the first point.
If an LWPolyline has one or more arcs it is possible to convert these arcs into small straight lines in different ways as follows:
With this command user can copy objects from the current drawing to other drawings without opening them.
If the current layout is The "Model" Space the objects will be copied to the "Model" Space,
if the current layout is one of the Paper Space layouts, the user will have the choice to copy to selected layouts that match a regular expression pattern and if no match found the user can type the name of an alternative layout to copy to. This layout will be created if not exists.
Website was designed with Mobirise